
How to Photograph T-Shirts to Sell: Tips for Professional Screen Printers
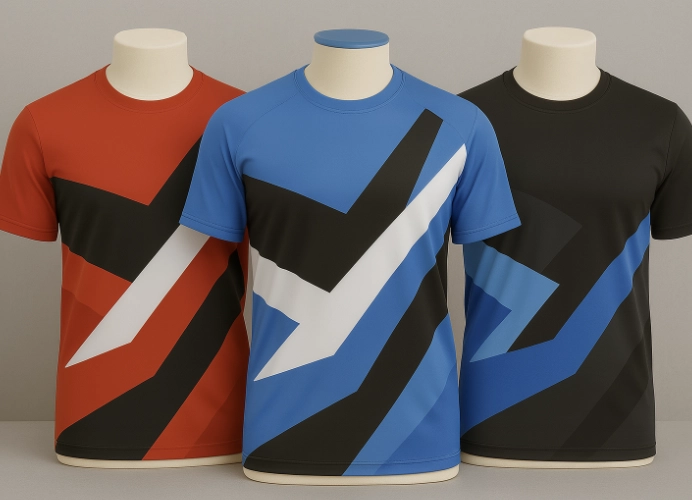
In the digital age where people spend most of their time online, images are the first thing that catches the eye and leaves an impression on customers. Especially for screen printing businesses, product photos play a crucial role in customer purchasing decisions. Beautifully printed shirts look much more appealing and attractive when captured through professional and eye-catching photos, whether on websites, social media, or online catalogs.

In an era where customers primarily purchase products online, product photos are no longer just “decorative”; they have become the most powerful “sales representatives.” For screen printing shops, good shirt photos help build credibility, increase sales, and entice customers to click and buy immediately.
This article will delve into tips and techniques for taking great photos of screen-printed shirts that look stylish and enticing, without requiring expensive equipment or professional experience. By understanding the basics and applying them, you can create photos that boost sales for your screen printing shop!
Why are product photos important for screen printing shops?
Before we dive into the techniques, let’s look at why investing in product photography is worthwhile for your screen printing shop:
Builds credibility: High-quality photos demonstrate professionalism and attention to detail.
Attracts attention: Beautiful photos make products stand out and be more appealing than competitors.
Communicates features: Good photos help customers see the details of the screen printing, colors, fabric, and overall quality.
Increases sales opportunities: When customers see products in the best light, the chances of them making a purchase increase.
Builds branding: Stylish and unique photos help create a memorable image for your brand.
Essential Equipment (Doesn’t Have to Be Expensive)
You don’t need a DSLR camera or expensive studio lighting. Basic equipment like the following is sufficient:
Smartphone: Modern smartphone cameras are of high quality and can take beautiful photos easily.
Tripod: Helps keep photos sharp and steady, especially in low light.
Natural Light: Light from windows or outdoors is the best and free!
Reflector: A light-reflecting board (can be substituted with white foam or foam board) helps distribute light and reduce shadows.
Background: A plain white, gray, or natural wood background will make the shirt stand out.
Hangers/Mannequins/Models (if available): Helps make the shirt look more dimensional and interesting.
Techniques for Taking “Buyable” Photos of Shirts
1. Light is the Key Factor
Use natural light: Place the shirt near a window or shoot outdoors during the early morning or late afternoon (Golden Hour) to get soft and non-harsh lighting. Avoid direct sunlight outdoors, which can cause harsh shadows.
If you don’t have studio lights, using natural light in the morning (08:00–10:00) or late afternoon (16:00–17:30) will give the best color to the shirt. If you need to use lights, use two lights from the left and right sides, and one from the front or above to avoid harsh shadows. Use softboxes or diffusers to soften the light.
Control shadows: Use reflectors to bounce light into dark or shadowed areas to ensure the shirt looks evenly lit.
Avoid using direct flash from the camera as it can cause the shirt to reflect light and lose detail in the print.
2. Choose an Appropriate Background
Simple and Unobtrusive: The background should be a plain, neutral color that does not distract from the shirt, such as white, light gray, or exposed brick walls. The background should be clean and simple, not competing with the shirt, such as white, light gray, or natural wood tones. If the shirt has dark patterns, use a light background to make the patterns stand out.
If you need to photograph the shirt on a mannequin or a model, choose a location that reflects the target audience, such as photographing sports shirts in a stadium, fashion shirts on a street scene, or cool walls.
Create a Story (Storytelling): If you want to create a specific atmosphere, choose a background that reflects the style of the shirt, such as brick walls for vintage-style shirts or colorful backgrounds for youth-oriented shirts.
3. Arrange the Shirt to Be Interesting
Before taking photos, make sure to iron the shirt to make it smooth, check for cleanliness, and ensure there are no smudged prints or dust, as high-quality cameras can capture even the smallest details.
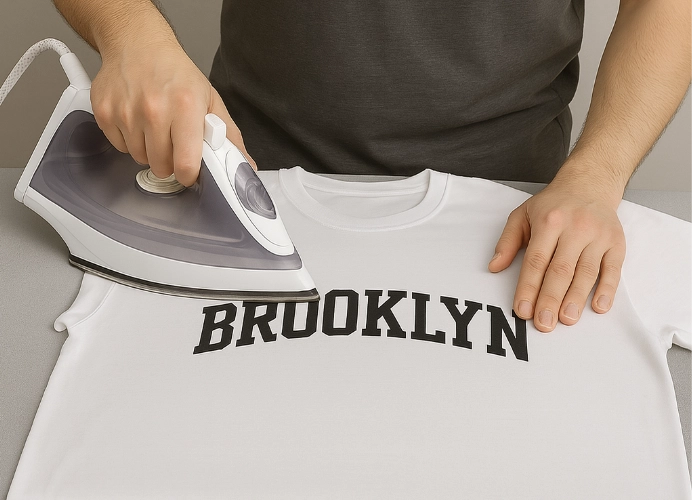
Flat Lay Style:
Lay the shirt as flat and smooth as possible, possibly after ironing.
Arrange neatly, adding small accessories like glasses, watches, or shoes to create a story.
Shoot from a high, straight-on angle (Bird’s Eye View) to clearly show the screen print details.
Hanging Style:
Use a hanger that fits the shirt’s shape.
Arrange the shirt to be smooth and taut, not wrinkled or twisted.
Shoot to clearly show the structure of the shirt and the screen print.
On Model Style:
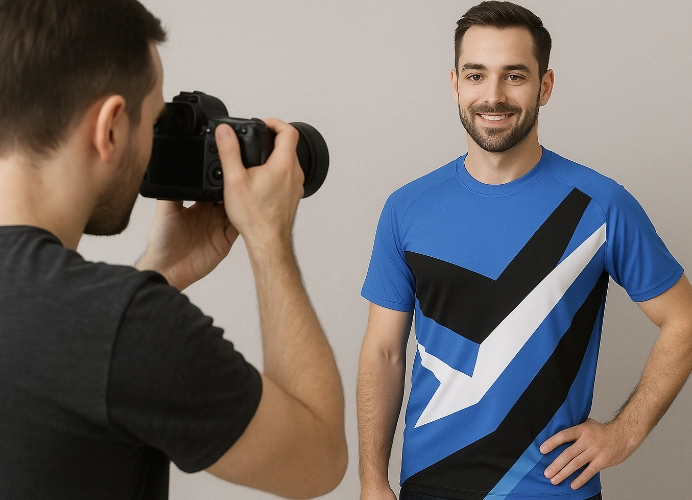
Use a mannequin or real models.
Poses should be natural and convey the mood of the shirt.
Shoot to show the shirt being worn, both front and back, and various details.
This method helps customers visualize the shirt on a real person, which is more engaging.
4. Focus on the Details of the Screen Printing
Close-up Shots: Take close-up images of the screen-printed design to showcase the clarity of the image, vibrant colors, and the quality of the screen printing, such as color gradients and the texture of the ink.
Show the Fabric: Capture images that highlight the fabric of the shirt to give customers a sense of the quality of the material.
5. Diverse Angles
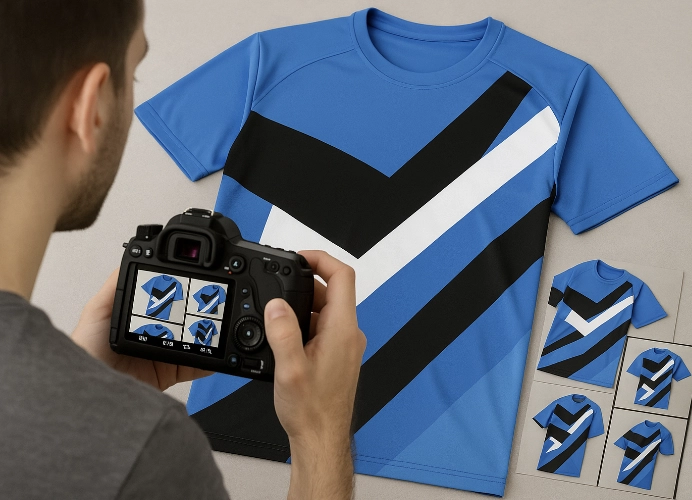
Straight-on Angles: Shoot from the front, back, and sides to show the shirt from all angles.
Creative Angles: Experiment with unique and creative angles to add interest to the images.
45-Degree Angles: Create a sense of depth, making the shirt appear more three-dimensional.
Close-up Angles: Emphasize the print quality, fabric texture, or stitching details.
It is recommended to take multiple angles, such as full-body shots + zoomed-in print shots + shots showing the sleeves or back, to give customers a complete view.
Highlight Features: If the shirt has special features like pockets or unique collars, focus on photographing those areas.
Vertical images are ideal for posting on Shopee, Lazada, TikTok Shop.
Horizontal images are suitable for use on websites, Facebook banners, and Line OA.
6. Use Apps to Enhance Photos (Basic)
Enhance photos to make them appealing without misleading the viewer. Editing should aim to make the image clearer, sharper, and brighter without altering the true color of the shirt.
Adjust Lighting/Colors: Most mobile photo editing apps, such as Snapseed, Lightroom Mobile, VSCO, or even built-in functions, can easily adjust lighting, brightness, contrast, and color temperature.
Crop Images: Remove unnecessary parts to highlight the shirt as the focal point.
Consistency: Try to maintain a consistent tone and style across all images in the store to build brand recognition.
7. Create a Brand “Character” Through Images
To make your brand memorable, it’s important to have a clear visual style, such as:
- Using the same tone for the background in every image
- Including a mascot or brand logo in the frame
- Reflecting the lifestyle, such as travel-themed shirts with props like cameras and bags
- Making the images convey emotions, feelings, and the essence of the brand, not just “selling shirts”
Caution when photographing screen-printed shirts:
- Don’t overuse filters: Intense filters can distort the true colors of the shirt and print.
- Be mindful of reflections: If the print has a shine or foil, adjust the angle and lighting to avoid reflections.
- Cleanliness of the shirt: Ensure the shirt is clean, free of stains or dust before photographing.
- Take multiple shots: Capture several shots from different angles to have options for the best image.
- Sharpness: The image must be clear and sharp, without blurriness or shaking.
Photographing screen-printed shirts to make them “appealing” is not difficult if you pay attention to the details and apply these tips. Investing in the quality of your photos not only boosts sales for your screen-printing shop but also builds long-term customer trust and satisfaction.
Modern screen-printing shops can generate sales from “good photos” without needing expensive cameras. With good lighting, a plain background, a clean shirt, an appropriate angle, and just the right amount of editing, you can enhance the appeal and credibility of your shop.
Good photos are the first door to customer purchase decisions. Start taking beautiful photos today.
Ready to Print Custom DTF with Screen168 Bangkok?
Single pieces to bulk wholesale. Free artwork file check and instant online pricing 24/7.
🚀 View Sizes, Prices & Order Online→