
DTF Printing Tips: Prevent Peeling and Flaking
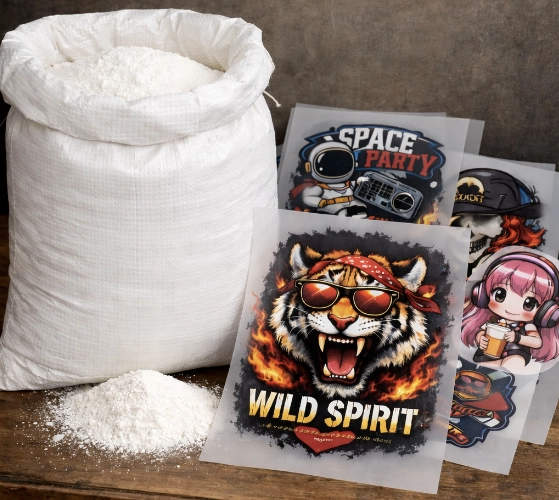
Printing on clothing using the Direct to Film (DTF) technique is a popular innovation in the garment printing industry. Whether it’s a small shop that needs to produce small quantities or a large industrial complex that needs to produce large batches continuously, DTF offers several advantages. It can be used on various fabrics, produces sharp and clear prints, and is durable after washing. However, regardless of the quality of the materials, incorrect pressing can lead to peeling, lifting, washing out, or fading faster than usual. Therefore, controlling the pressing process correctly is crucial for quality work.

This article is written in a formal style and is suitable for clothing screen printing shop owners, garment manufacturing plants, and clothing brands that want to create high-quality work and increase customer satisfaction. Within the article, you will find in-depth tips, practical techniques, and methods to prevent peeling or washing out, as well as knowledge about materials to help make informed decisions about choosing the right film and powder adhesive. This will help your screen printing shop produce durable work that meets international standards.
The Importance of the Pressing Step in DTF Work
In the DTF printing process, the pressing step is the final quality control point after the design has been printed with ink and powder adhesive has been applied. While the printer, film, or ink are important factors, if the pressing step is not precise, high-quality work can be compromised immediately. Peeling or washing out usually does not stem from the printer but from improper temperature, pressure, pressing time, or fabric condition. Paying attention to the pressing step helps reduce waste, increase customer satisfaction, and extend the lifespan of the clothing clearly.
Main Causes of DTF Prints Peeling or Flaking
Before delving into tips and techniques, it’s essential to understand the fundamental reasons why prints can easily peel off, so that prevention can be implemented from the outset and quality control can be comprehensive. The main causes are:
- Temperature not reaching or being inconsistent
Even though film and powder adhesive manufacturers specify temperatures, such as 140–160°C, each roller model may have slight variations. The actual temperature may be lower than what is displayed on the gauge, causing the adhesive powder to not fully melt, resulting in poor adhesion.
- Insufficient pressure
Low pressure causes the adhesive powder to melt but not be pressed into the fabric fibers. Over time, as the customer washes the garment multiple times, the print may start to lift, curl, or crack.
- Too short a rolling time
Rolling for too short a time causes the adhesive powder to not fully melt, leading to incomplete adhesion. This results in a print that appears well adhered initially but can easily flake off later.
- Unsuitable fabric or accumulated moisture
Some fabrics have high moisture content, such as freshly washed cotton, which may have water in the fibers. Rolling on a damp fabric causes the adhesive to not fully bond with the fabric or creates air bubbles in the film.
- Low-quality film and adhesive powder
Adhesive powder with low viscosity, film that is too thin, or poor coating can cause adhesion to deteriorate even if the rolling is correct.
- Improper film removal timing
Some films need to be removed while hot, others while cold. If removed at the wrong time, the film may stretch, not come off completely, or pull the print off with it.
Mechanism of Adhesion Between DTF Adhesive and Fabric Fibers
To understand this better, it’s necessary to know the material science mechanism of DTF adhesive powder (TPU powder). When heated to the manufacturer’s specified temperature, the powder melts. With sufficient pressure and time, the adhesive flows into the gaps in the fabric fibers, creating a “mechanical lock” (mechanical bonding) similar to interlocking. If the temperature or pressure is insufficient, the adhesive will only melt on the surface and cannot flow into the fabric, resulting in adhesion that is only surface-level, which is at risk of peeling off after just a few washes.
Tips for DTF Printing to Prevent Peeling and Flaking
- Calibrate the Heat Press Temperature
Many operators rely on the temperature displayed on the heat press, but machines that have been used for a long time or are budget models often have calibration issues, with the actual temperature being 10–20°C lower than the displayed temperature, which can cause the design to not adhere properly.
To fix this, use an infrared thermometer or temperature tape for printing jobs. Test the temperature at various points on the heating plate. If there are significant temperature differences, adjust the settings accordingly or distribute the design appropriately. Knowing the “actual temperature” greatly improves consistency and reduces peeling over the long term.
- Set the Temperature According to Each Film Type
While DTF films have standard temperatures, each manufacturer has different coating formulas. It’s best to consult the manual or seller for specific recommendations. Here are the main types:
- Hot Peel Film: Approximately 150–160°C
- Cold Peel Film: Approximately 135–150°C
- Premium Film: Follow the manufacturer’s formula directly
Using the correct temperature prevents the design from lifting during the peeling process.
- Control Pressure Appropriately (Medium to High Pressure)
Pressure is just as important as temperature because it helps the adhesive flow onto the fabric fibers. If the pressure is too low, the design will peel easily; if it’s too high, the film may deform.
Key Points:
- Medium to high pressure is best for t-shirts.
- For auto or swing arm presses, set the pressure consistently.
- For manual presses, apply steady pressure.
Consistent pressure control ensures a uniform bond across the entire surface, preventing peeling at corners or edges.
- Increase Press Time for Safety
The standard time is 12–15 seconds, but this varies based on fabric, film, and press. If the temperature is inconsistent or the fabric is damp, increase the time by 3–5 seconds to ensure the adhesive fully melts.
Observations:
- Large designs or those with extensive black areas should have more time to ensure the adhesive melts evenly.
- Small, delicate designs can use the standard time.
Increasing the time slightly reduces the risk of peeling after washing.
- Pre-Press to Remove Fabric Moisture
Fabric that has been washed, is thick, or stored in a humid room, such as TC or 100% cotton, often retains moisture. Wet fibers prevent the adhesive from adhering properly.
Procedure:
- Press empty for 3–5 seconds at 140–150°C.
- Allow the fabric to cool before placing the film.
This step smooths the fabric and removes static electricity.
Shops that prioritize moisture removal have lower defect rates.
- Use Appropriate Release Sheets (Teflon, Parchment, or Kraft)
Release sheets ensure even pressure and protect the fabric from becoming shiny. Each type has its advantages:
- Teflon: Good heat distribution, reusable.
- Parchment: Helps create a matte finish and smooth coating.
- Kraft Paper: Increases pressure contact, suitable for dense work.
Experiment with different films to find the best surface.
- Peel the Film at the Correct Time
Incorrect timing is a major cause of peeling. Recommendations:
- Hot Peel Film: Peel immediately after 2–3 seconds.
- Warm Peel Film: Wait 5–10 seconds.
- Cold Peel Film: Wait until the design is cool.
When peeling, pull slowly and at a low angle to avoid tearing the design.
- Re-Press for Increased Durability (Second Press)
Re-pressing is a professional technique that enhances the smoothness of the design and increases adhesive bonding to the fabric fibers.
Procedure:
- Press for 5–8 seconds at medium pressure with release paper.
- Avoid over-pressing to prevent an orange peel effect.
Re-pressing significantly increases wash durability.
- Avoid Pressing on Seams, Zippers, or Uneven Areas
Pressing on uneven areas like seams, V-necks, or chest pockets causes inconsistent pressure, leading to poor adhesion at the edges. Using a “leveling pad” or pillow pad can help distribute pressure evenly.
- Choose High-Quality Films and Adhesive from Trusted Manufacturers
Cheap films may have uneven coatings, and low-quality adhesive can cause peeling even if the pressing is correct. High-quality films reduce defects and increase wash durability. Consider:
- Film coating thickness
- Adhesive resolution (75–125 microns is standard)
- Heat resistance
- Post-wash design flexibility
Shops should avoid using low-quality adhesive to prevent future repairs.
- Control Shop Humidity
High humidity in the shop, such as in air-conditioned rooms or during rainy seasons, can cause printed designs to absorb moisture before pressing, leading to poor adhesive bonding. Store films in vacuum bags or desiccant boxes, and use silica gel to control the environment.
- Test Washing Before Large Orders
Before producing large batches, test washing 3–5 times to check stability. If the design lifts or cracks in the first round, adjust the press settings immediately. This prevents large-scale damage and unnecessary repairs.
Additional Tips for Professional Screen Printing Shops
For shops or factories aiming for international standards, consider these additional recommendations:
- Use thick-plate heat presses for consistent heat distribution.
- Use pressure gauges for precise control.
- Store films in a controlled environment at 20–25°C and away from UV light.
Common Mistakes in Screen Printing Shops
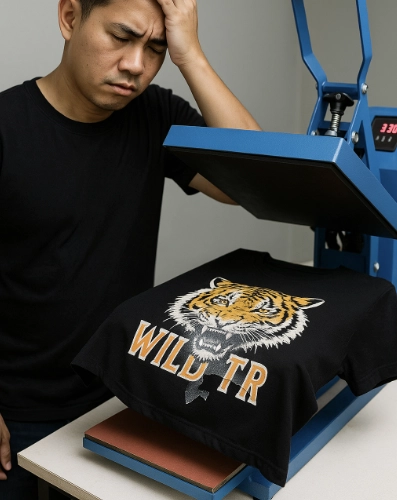
To cover the topic comprehensively, it is important to understand common mistakes and how to prevent them.
- Ironing at the “Assumed” Temperature
Many ironing machines have inaccuracies, so checking the actual temperature is crucial.
- Removing the Film Too Quickly
Removing the film too quickly without considering the film type can cause the ink to lift over time.
- Ironing on Uneven Fabric
Uneven pressure can result in the design not adhering properly across the entire surface.
- Using Low-Quality Film or Adhesive Powder
Even with good ironing, low-quality materials can cause the design to peel off easily over time.
- Skipping the Second Press
Some shops skip the second press, but it is a crucial step that significantly increases durability.
Summary: How to Ensure DTF Prints Don’t Peel or Fade
To make DTF prints adhere firmly and last long, four key elements are essential:
- Accurate and consistent temperature
- Adequate pressure
- Proper ironing time
- High-quality materials, including moisture-removed fabric
When all elements are controlled correctly, the design will bond well with the fabric fibers, not peel, crack, or fade even after multiple washes. This enhances the shop’s image, increases credibility, and reduces costs from fixing many issues.
For business owners looking to elevate their screen printing shop, focusing on the ironing process not only satisfies customers but also helps the shop develop quality and expertise steadily over time.
This article aims to provide practical guidelines for small screen printing shops, online stores, and production factories to ensure the highest quality in every DTF job.
Ready to Print Custom DTF with Screen168 Bangkok?
Single pieces to bulk wholesale. Free artwork file check and instant online pricing 24/7.
🚀 View Sizes, Prices & Order Online→