
Halftone File Techniques for DTF Printing: Professional Gradient Screening
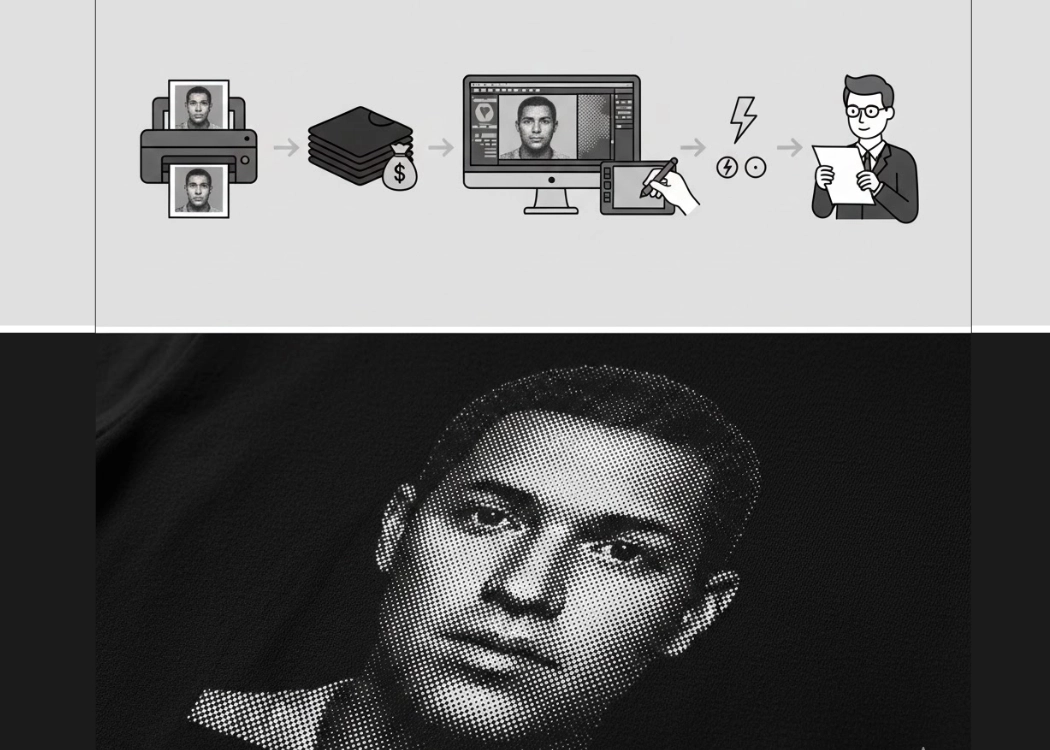
In the world of contemporary T-shirt printing, DTF (Direct to Film) technology has revolutionized the industry with its ability to quickly print complex and colorful images. However, the most common challenge faced by T-shirt printers and clothing brand owners when printing “portraits” or images with skin tones is the issue of “color bleeding” or “color pooling,” especially in very light areas or where gradients transition from color to fabric.
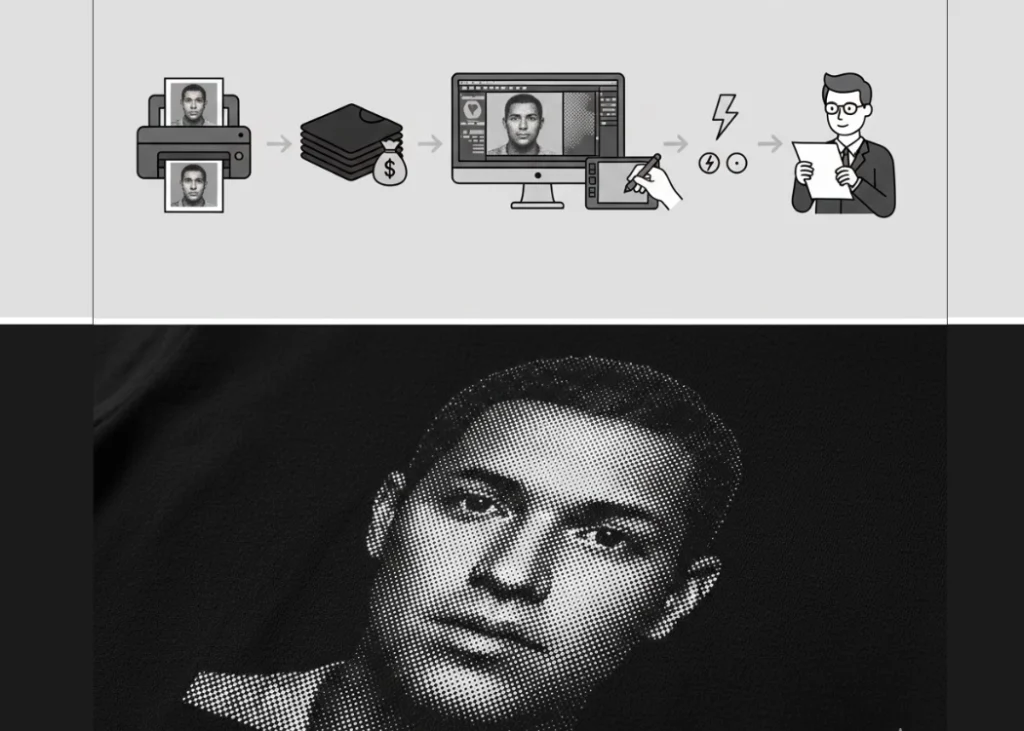
The solution to this problem lies in the use of Halftone techniques, an art form that skilled screen printers have been using for years. Today, we will delve into how to create Halftone files to ensure that your DTF prints come out as smooth and natural as the original photograph.
1. Why Do DTF Portraits Often Bleed?
Excessive White Ink: In light areas (Highlights), if 100% white ink is printed, the hot-melt adhesive will become too thick, making the area look hard and unappealing instead of soft and smooth.
Unnatural Gradients: Inkjet printers have limitations in spraying very small dots, leading to abrupt stops in ink spraying at the lightest points, causing “jagged edges” between the color and the fabric.
Poor Air Circulation: Large solid prints are uncomfortable to wear, do not breathe well, and are prone to cracking during washing.
2. What is Halftone, and How Does it Help DTF Printing?
Halftone is a technique that simulates continuous tone images using dots of varying sizes.
Large, closely packed dots: appear as dark colors.
Small, widely spaced dots: appear as light colors.
Benefits in DTF Printing:
Smooth Gradients: Helps create a smooth transition from dark to light colors without jagged edges.
Better Adhesion: Smaller dots allow ink and adhesive to spread better, reducing peeling.
Premium Feel: Screen prints feel “softer” than solid prints because there is space between the dots for the fabric to breathe.
3. Step-by-Step Guide to Preparing Halftone Files for Portraits
Creating Halftone files for DTF is not just about pressing “Print”; it starts in Adobe Photoshop or Illustrator:
Step 1: Image Adjustment
Before adding dots, ensure the image has the right contrast.
Curves & Levels: Adjust shadows to be deeper and highlights to be clearer, but avoid over-whitening which can lose details.
Saturation: Slightly increase skin color saturation as the Halftone process may dull the colors by about 5-10%.
Step 2: Color Separation
For portraits, focus on managing the Black (K) and White (White Layer) channels to ensure the white base aligns well with the screen mesh.
Step 3: Converting to Bitmap (The Core Step)
Go to Image > Mode > Grayscale
Go to Image > Mode > Bitmap
In the Method box, select Halftone Screen
Frequency (Frequency): For DTF, recommend 45 - 55 LPI (Lines Per Inch). Smaller dots may break during washing, while larger dots may look coarse.
Angle (Angle): Typically use 22.5 or 45 degrees to avoid Moiré patterns.
Shape (Shape): Choose Round (Circle) or Ellipse (Oval) for the smoothest gradients.
4. Techniques for Smooth Gradients Without Plastic Edges
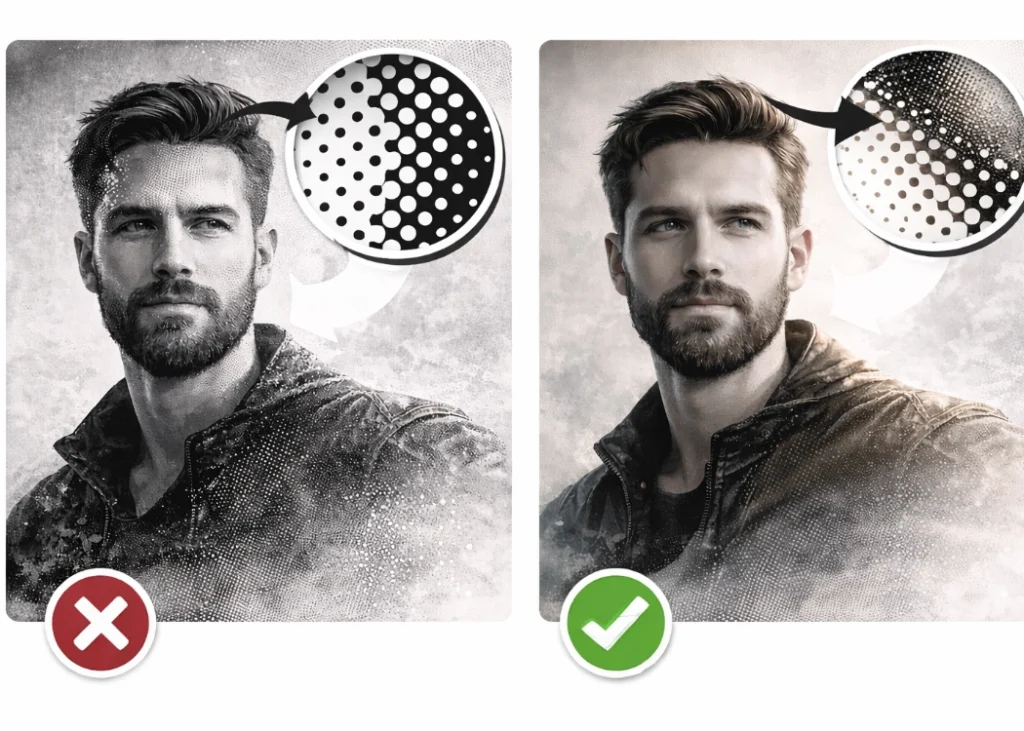
Managing “Minimum Dot” in DTF, if Halftone dots are too small (1-2%), the printer may not spray white ink or the adhesive may not stick, causing the print to look like “rust” or have patchy colors.
Solution: Set the RIP program (e.g., ACRORIP or Digital Factory) to have a “Minimum Ink Dot” of about 3% to ensure that all gradient dots have a white base and adhesive support.
5. Setting Up the Printer and RIP Program for Halftone Work
Good file creation is useless if the printer settings are incorrect:
White Ink Management: Do not set Underbase to 100% for the entire image. In Halftone areas, set white ink to spray according to the color dot density (Gradient White).
Resolution: Use the highest resolution your printer can achieve (e.g., 1440x1440 DPI or 2400 DPI) to ensure the Halftone screen dots are as sharp as possible.
6. Caution: Static Electricity and Air in the System
As seen in common printing shop issues:
Static Electricity: In dry rooms, static electricity can cause Halftone dots to spread irregularly (Overspray), blurring the image.
Air Bubbles: If there is air in the ink line, Halftone dots will be uneven, causing portrait images to have blemishes on the face.
Printing portraits is not just about pressing a button; it’s about understanding “color weight” and “dot engineering.” Mastering these aspects will help your prints come out:
Smoother: Natural-looking skin tone gradients without hard edges.
Durable: Dot distribution helps the film adhere deeper to the fabric fibers.
More Comfortable: Breathable shirts that do not feel hot on the chest.
Ready to Print Custom DTF with Screen168 Bangkok?
Single pieces to bulk wholesale. Free artwork file check and instant online pricing 24/7.
🚀 View Sizes, Prices & Order Online→