
How to Change DTF Ink Cartridges Yourself: A Quick Guide
Why Changing DTF Ink Tubes Yourself is a Crucial Skill for T-Shirt Printing Businesses
In the DTF (Direct-to-Film) printing business, the printhead and ink tubes are the heart of the operation, ensuring high-quality prints with vibrant colors and minimizing print failures. However, many shops still rely on technicians every time an ink tube gets clogged or damaged, leading to lost time and revenue from delayed work. This article will guide you through the process of safely changing DTF ink tubes yourself, without waiting for a technician, along with preventive maintenance tips to keep your DTF printer running smoothly.
Why is Changing DTF Ink Tubes a Vital Skill for T-Shirt Printing Businesses?
For printing and t-shirt businesses using DTF technology, time is money. Even a few hours of downtime due to waiting for a technician to replace a clogged or damaged ink tube can result in missed production opportunities. Learning how to change ink tubes (Ink Tubes) yourself is a crucial skill that keeps your business running smoothly and continuously, reduces service costs, and immediately boosts efficiency.
Understanding the DTF Ink System
First, it’s important to know what DTF ink tubes are.
DTF ink tubes are conduits that transport ink from the tank to the printhead. They are made from materials that withstand ink pressure and chemicals (pigment, white ink) and have a specific diameter to control the flow rate.
Signs That Your Ink Tube is Starting to Have Issues
You might encounter these issues during t-shirt printing, but you may not realize they are caused by the ink tube. These include faded or distorted print colors, air bubbles in the ink, ink backflow or leakage within the machine, error messages, or inability to prime or flush the ink.

Benefits of Changing Ink Tubes Yourself
- Save time by not waiting for a technician to arrive
- Reduce costs by avoiding labor and travel expenses
- Increase flexibility when dealing with urgent jobs, as you don’t need to wait for a technician’s schedule
- Build customer confidence because your shop can handle its own maintenance
Tools to Prepare: Have Everything Ready Before You Start
Before beginning the DTF ink tube replacement process, ensure you have all the necessary tools to work cleanly and safely:
- New DTF ink tubes: Must be the correct model and size for your printer specifications. Choose according to your printer model and diameter.
- Cleaning solution: For cleaning the printhead and related parts (if necessary)
- Syringe: For drawing and flushing ink
- Nitrile gloves: To protect your skin from ink
- Non-lint paper towels: For wiping up spilled ink
- Small screwdriver: For removing securing parts (if needed)
- Clamp for securing ink tubes and a container for old ink
Step 1: Preparation and Disconnecting Ink Flow
Turn off the printer: The most important step is to switch off the printer and unplug it for safety.
Unlock the printhead: Slide the printhead assembly to an easily accessible position.
Lock the ink flow: If your printer has an ink lock valve on the cartridge or tank, close the valve to prevent ink backflow or leakage.
Identify the damaged tube: Ensure you know which ink tube needs to be replaced (usually the one that is clogged or leaking).
Step 2: Removing the Old Ink Tube and Installing the New One
Remove the old tube from the printhead: Carefully disconnect the old ink tube from the damper assembly at the printhead area, being cautious not to break any plastic parts.
Remove the old tube from the tank/cartridge: Disconnect the ink tube from the ink source (cartridge or external ink tank).
Install the new tube:
Connect the new ink tube to the correct ink tank or cartridge.
Route the tube along the designated path in the printer.
Secure one end of the new tube to the printhead damper connection tightly.
Step 3: Priming and Testing
This step is crucial to ensure no air is trapped in the tube and ink flows smoothly to the printhead:

Fill the tube with ink: Use a syringe to draw ink of the same color as the tube being replaced (do not draw directly from the tank) and slowly inject it into the tube end connected to the damper until you see ink flow out slightly.
Open the ink valve: If closed, open the ink flow again.
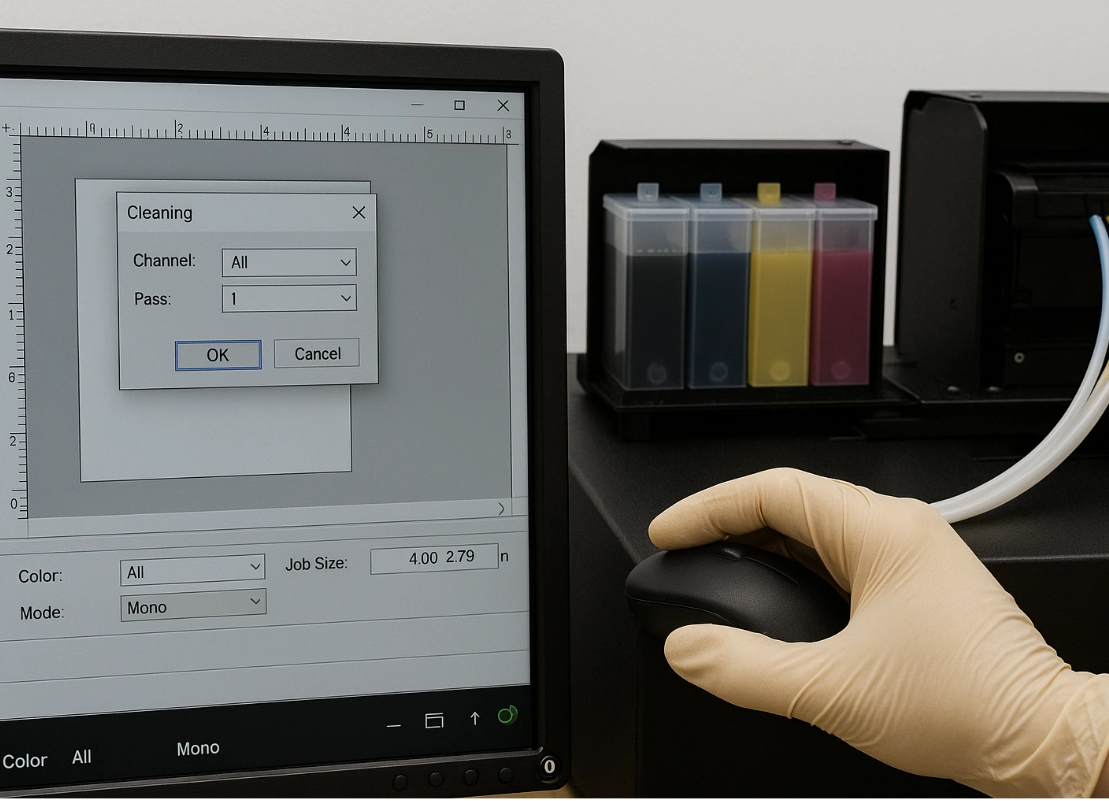
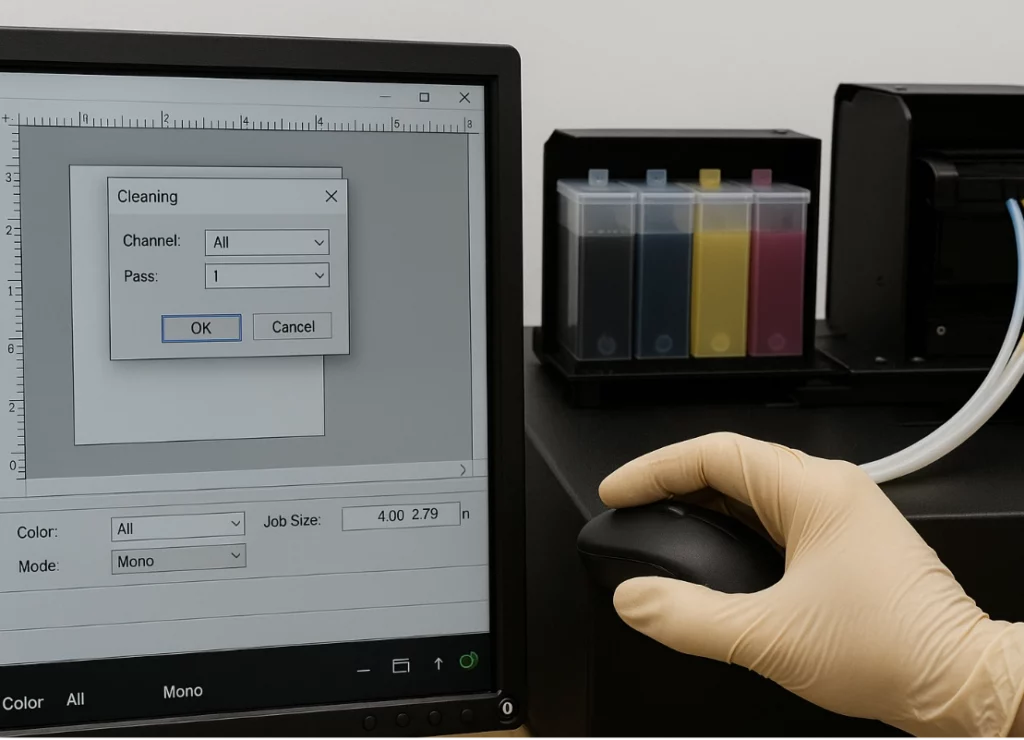
Test print: Turn on the printer and perform multiple printhead cleanings (as per manufacturer instructions). Then do a nozzle check print to confirm the printhead is functioning correctly and ink is flowing consistently.
Tips to Prevent Ink Tube Clogs
- Use high-quality and correct ink
- Regularly clean and flush the system (at least weekly)
- Store the printer in a dust-free and temperature-controlled environment
Safety and Environmental Considerations
- Wear gloves and masks when handling ink
- Dispose of old ink and cleaning solutions properly (do not pour down the drain)
- Manage waste according to environmental standards
FAQ: Common Questions
Q: How often should ink tubes be changed?
A: On average, every 6–12 months, depending on workload and ink quality.
Q: Can you use non-compatible ink tubes?
A: Not recommended, as it may cause incorrect ink pressure and issues with the printhead.
Q: Do you need to recalibrate the software after changing the ink tube?
A: Usually not necessary, but perform a test print and adjust the ICC profile if colors are off.
Changing DTF ink tubes yourself is not difficult if you follow the steps carefully and maintain cleanliness. This skill allows you to quickly resolve printer issues, minimize downtime, and boost confidence in managing all your DTF printing tasks.
By preparing the tools and following the steps correctly, you will save time and costs while maintaining consistent print quality, increasing customer trust and satisfaction.
Ready to Print Custom DTF with Screen168 Bangkok?
Single pieces to bulk wholesale. Free artwork file check and instant online pricing 24/7.
🚀 View Sizes, Prices & Order Online→