
Solve All Flex Screen Printing Problems: A Comprehensive Guide for Beginners
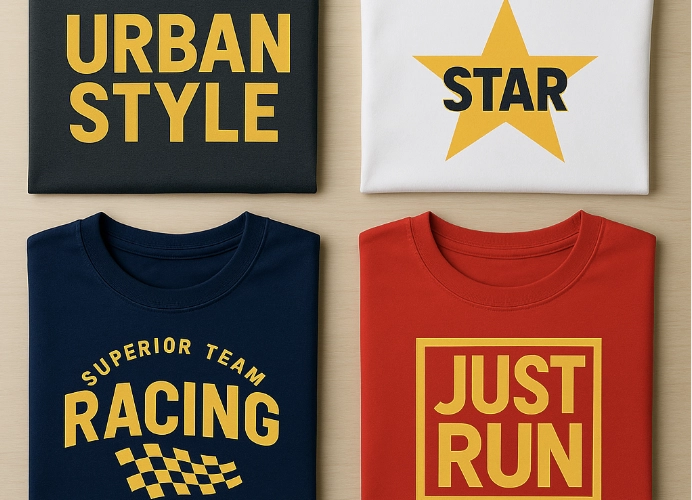
Screening flex or heat pressing with Flex/Flock material is one of the most popular techniques for printing designs on clothing, especially for athletes’ names and numbers, organizational logos, fashion items requiring standout clarity and solid colors, and small production runs that require speed. With its durability, however, many operators often encounter flex screening issues that result in poor quality work, wasted materials, and unsatisfactory results.

This article will guide you through every problem that may arise in the flex screening process, from cutting to maintenance, with detailed causes and solutions to help you create professional, clear, and durable work.
The Heart of Flex Work: “The Golden Triangle” That Must Be Controlled
Before diving into each issue, it’s important to understand that the quality of flex heat pressing depends on the balance of three main factors, known as “The Golden Triangle”:
Temperature: The appropriate heat to melt the adhesive on the back of the flex and adhere it to the fabric.
Time: The duration of heat application, which must be long enough for the adhesive to bond but not so long as to damage the material.
Pressure: Consistent pressure from the heat press to ensure even heat distribution and secure adhesion of the flex to the fabric fibers.
If these three elements are not balanced, problems will inevitably occur.
Common issues encountered include:
1. Problems in the “Cutting” Step: Doesn’t Cut Cleanly, Blunt Edges, Hard to Weed
The beginning of flex work is the cutting stage. Issues at this stage affect the entire project, such as difficulty in peeling off the cut flex or it tearing into strips.
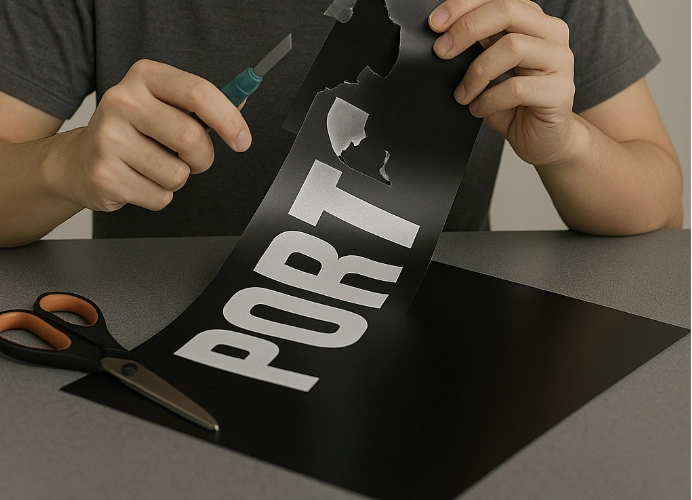
Causes:
Dull or unsuitable blade: A blade that has been used extensively and has lost its sharpness, or using a blade at an incorrect angle relative to the thickness of the flex.
Incorrect cutting machine settings: Improper blade pressure (Force) or speed (Speed) settings for the type of flex being used.
Design too complex: Small patterns, thin lines, or overly sharp angles, causing the cutting machine to perform inadequately.
Flex is thicker than the machine’s standard capacity.
Forgetting to mirror the design: A classic beginner’s problem, resulting in the design being reversed when printed.
Solutions:
Regularly check the blade: Change the blade immediately when you feel it’s not cutting well, or always have a spare blade on hand. For standard flex, a 45-degree blade is typically used, but for thicker flex like flock or reflective flex, a 60-degree blade may be necessary.
Perform a test cut every time: Before cutting the actual work, use the test cut function on the cutting machine to find the optimal pressure setting, which should be just enough to cut through the flex layer without piercing the clear film.
Adjust the pressure (force) to cut through only the top layer without piercing the adhesive.
Reduce the speed (speed) to about 10–15 cm/s for fine details.
Revise the design: If it’s difficult to weed out the excess material, try increasing the thickness of the lines in the design or simplifying the pattern.
Create a checklist: Place a reminder sign on the cutting machine asking, “Have you mirrored the design?”
2. Problems in the “Hot Pressing” Step: Flex Doesn’t Adhere, Peels, or Wrinkles
This is the step where the most frequent and varied problems occur.
Problem 2.1: Flex Doesn’t Adhere to the Shirt or Only Partially Adheres, Peels After Pressing, or Detaches After Washing
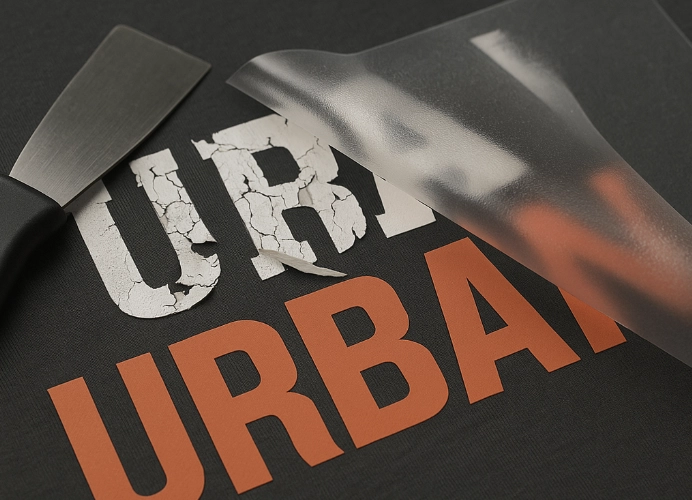
Causes:
Low temperature: Insufficient heat to melt the adhesive on the back of the flex
Short pressing time: The adhesive does not have enough time to set and bond with the fabric fibers, insufficient pressure applied during pressing
Insufficient pressure: Heat transfer is poor, and the flex does not fully contact the fabric
Fabric with a coating: Certain fabrics, such as rainwear or some sportswear, have a water-repellent coating that prevents the adhesive from bonding, fabric is dirty or greasy before pressing
Pressing over seams or buttons: This results in uneven pressure on the working area
Low-quality flex or expired flex
Solutions:
Check flex specifications: Each type and brand of flex requires different “temperature-time-pressure” settings! Follow the manufacturer’s recommendations (e.g., general PU flex: 150-160°C, 10-15 seconds / Fleece flex: 160-170°C, 15-20 seconds)
Pre-press to remove moisture: Clean the fabric before pressing with a glue roller, press an empty shirt with a heat press for about 5-7 seconds before placing the flex to remove moisture and make the fabric surface smooth
Increase pressure: Adjust the heat press to apply more firm pressure
Use a Teflon pillow: If pressing near seams or zippers, using a Teflon pillow will help ensure even pressure on the main working area
Choose high-quality flex brands with quality assurance
Problem 2.2: Flex Wrinkles, Shows Lines, or Shrinks
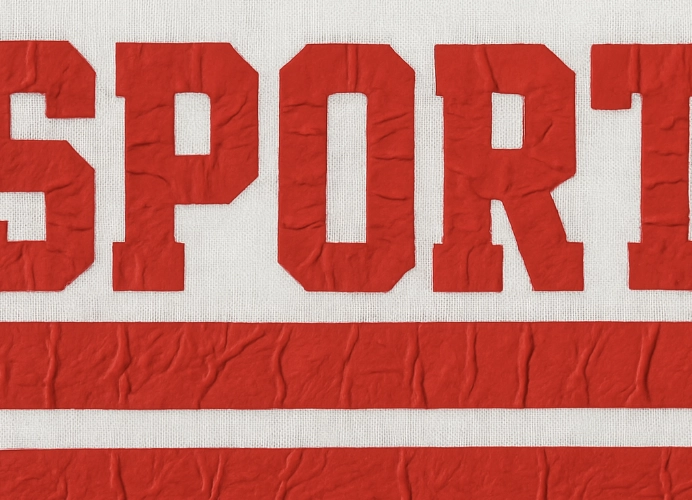
Causes:
High temperature: Excessive heat causes the flex material and adhesive to melt and deform
Fabric shrinkage: Especially cotton fabric, when exposed to high heat, will shrink, causing the flex adhered to the fabric to wrinkle along with it, excessive heat for the fabric type, using flex with unsuitable fabric types, such as high-stretch fabric
Solutions:
Reduce temperature: Set the temperature according to the recommended specifications, do not use excessive heat
Pre-pressing is crucial: Pre-pressing removes moisture and pre-shrinks the fabric, reducing shrinkage when pressing with flex, press the fabric alone for 5-10 seconds to relax the fabric before printing
Use highly stretchable flex (Stretchable Flex) for stretch fabrics, such as Spandex
Control temperature not exceeding 150-160°C and do not press for too long
Problem 3: Dye Migration
This issue often occurs when pressing light-colored flex (especially white) onto brightly colored polyester fabric (such as sports shirts, red, blue), causing the flex to turn pink or light blue.
Causes:
Some polyester fibers have unstable dye that sublimes (turns into gas) when exposed to high heat, causing the dye to migrate into the flex material, changing the color of the flex
Solutions:
Use the lowest temperature possible: Lower the temperature and increase pressing time to reduce dye sublimation
Use “sublimation-resistant flex” (Subli-Block / Anti-Sublimation Flex): This type of flex has a carbon or special film layer in the middle, preventing dye from the fabric from migrating, suitable for sports shirts in particular
3. Problems in the “Peeling and Care” Stage: Peeling Causes Detachment, Washing Causes Damage
Color fading after a few washes is a common issue. The work may look good after ironing, but problems can arise later.
Causes:
Incorrect peeling method (hot peel vs cold peel): Flex has two main types, Hot Peel (peel the film off while still hot immediately after ironing) and Cold Peel (wait until it cools down before peeling). Peeling incorrectly can cause the Flex to stick to the film.
Using low-quality Flex or Flex not designed for frequent washing.
Insufficient heat setting: Refer back to cause 2, temperature, time, and pressure settings are not correct. Inadequate heat causes the adhesive to not fully melt.
Incorrect care methods: Using hot water, spinning at high speeds, using bleach, or ironing directly over the design.
Solutions:
Check specifications before peeling!: Always know whether the Flex is “hot peel” or “cold peel”. Choose Flex that has washing standards, such as being washable 30-50 times without fading.
Provide care instructions to customers:
Turn the garment inside out before washing. Wash with normal or cold water, avoid hot water or high-temperature drying above 60°C.
Avoid using bleach and fabric softeners. Do not use high-temperature drying. Do not iron directly over the screen print design.
4. Problem: Flex Does Not Adhere to Corners or Edges Float
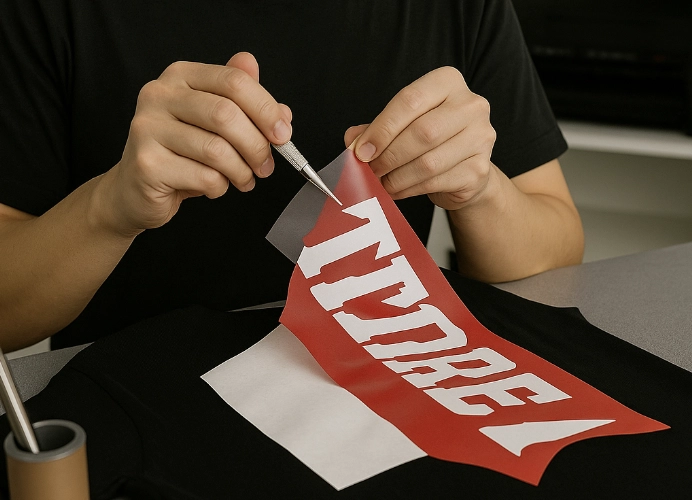
Causes:
Uneven ironing table or using too thick a pressing cloth.
Flex has air bubbles or does not adhere fully to the fabric.
No re-ironing after peeling the film.
Solutions:
Use a Teflon or silicone sheet on the ironing table.
Press the edges with an iron immediately after peeling.
Re-iron after peeling the film for 3-5 seconds with a pressing cloth to increase adhesion.
Professional Tip: Make Flex work sharp, durable, and look expensive**
Mirror cut every time before sending to the cutter.
Use Teflon or parchment paper while ironing.
Test the actual piece before accepting large orders.
Ensure cutting and ironing table lighting is bright to reduce errors.
Create a checklist “Right Flex for the Right Fabric” to avoid repeat mistakes.
Summary
Flex or HTV screen printing is a technique that provides sharp and clear results, suitable for team shirts, family shirts, or event shirts that require speed. Most Flex screen printing issues can be prevented and resolved with an understanding of material properties and precise control of the “golden triangle” (temperature, time, pressure). Paying attention to details from blade selection, test cutting, ironing out moisture, to providing care instructions to customers not only reduces waste and costs but also builds standards and reputation for your brand in the long run.
Ready to Print Custom DTF with Screen168 Bangkok?
Single pieces to bulk wholesale. Free artwork file check and instant online pricing 24/7.
🚀 View Sizes, Prices & Order Online→